
Signing your flights
Put a signature on a flight or simulator session yourself, by drawing it or taking it from paper, and replace, remove or waive it.
On this page
To get a signature on a flight, open the flight, tap Sign and let the person draw in the pad, or take their signature from a paper logbook with Scan or Choose Photo. If they are not with you, send a link instead: see Remote sign-off.
Sign a flight on your iPhone #
- In the Logbook, tap the flight.
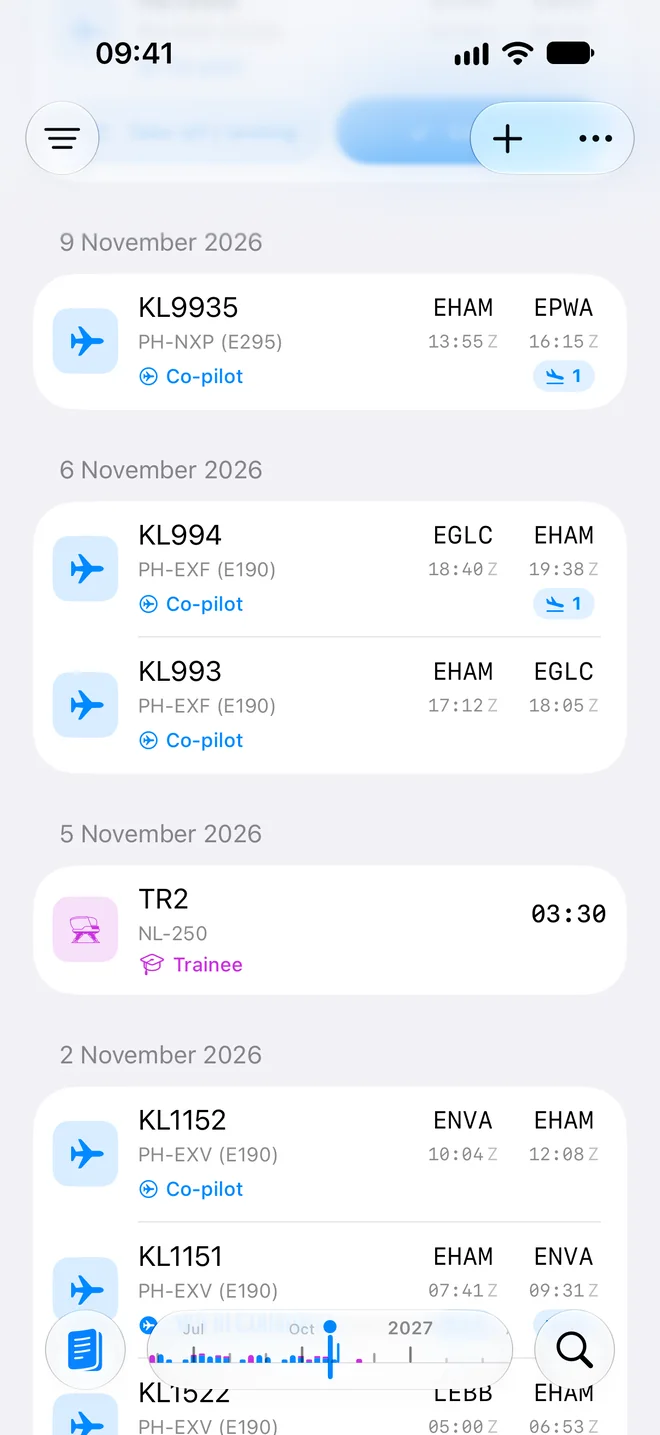
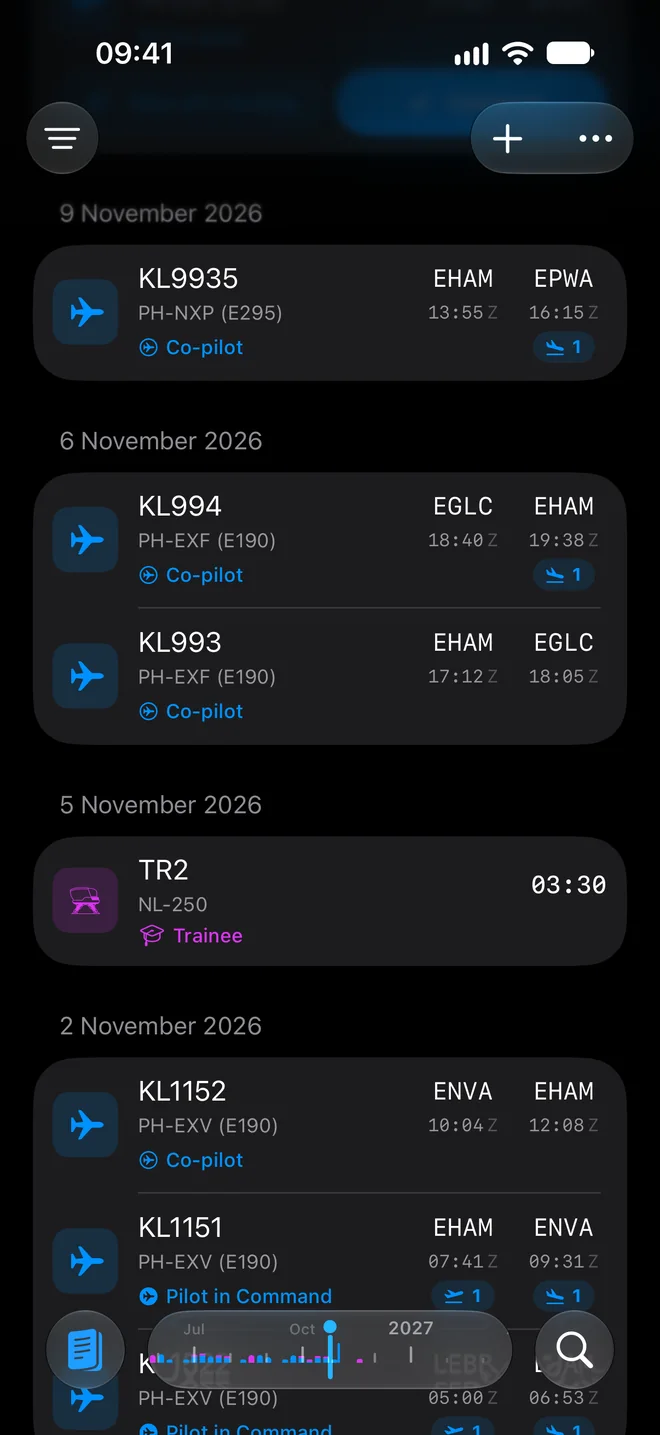
- Tap Sign in the toolbar. The flight's menu also has Sign….
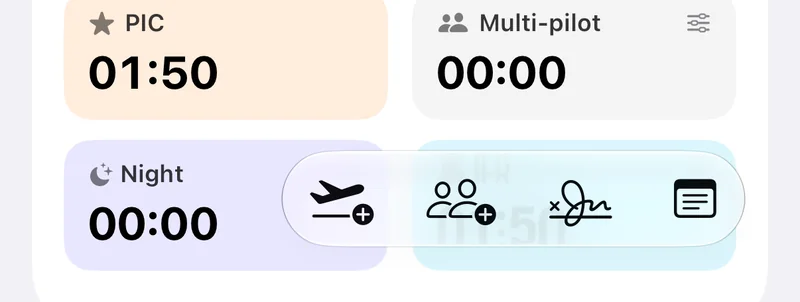
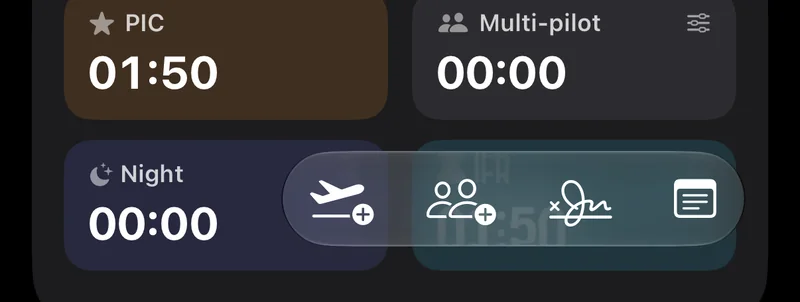
- In the Sign Flight sheet, draw the signature in the pad. The clear button at the right of the pad starts again.
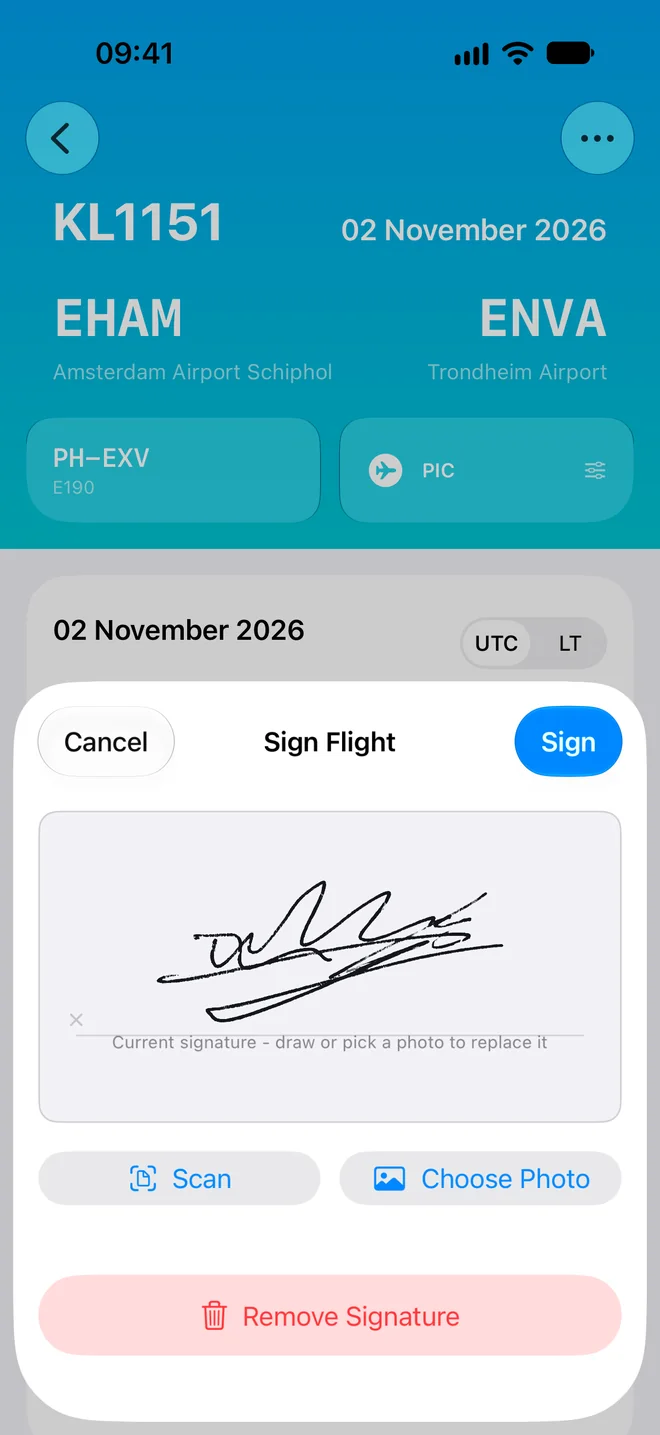
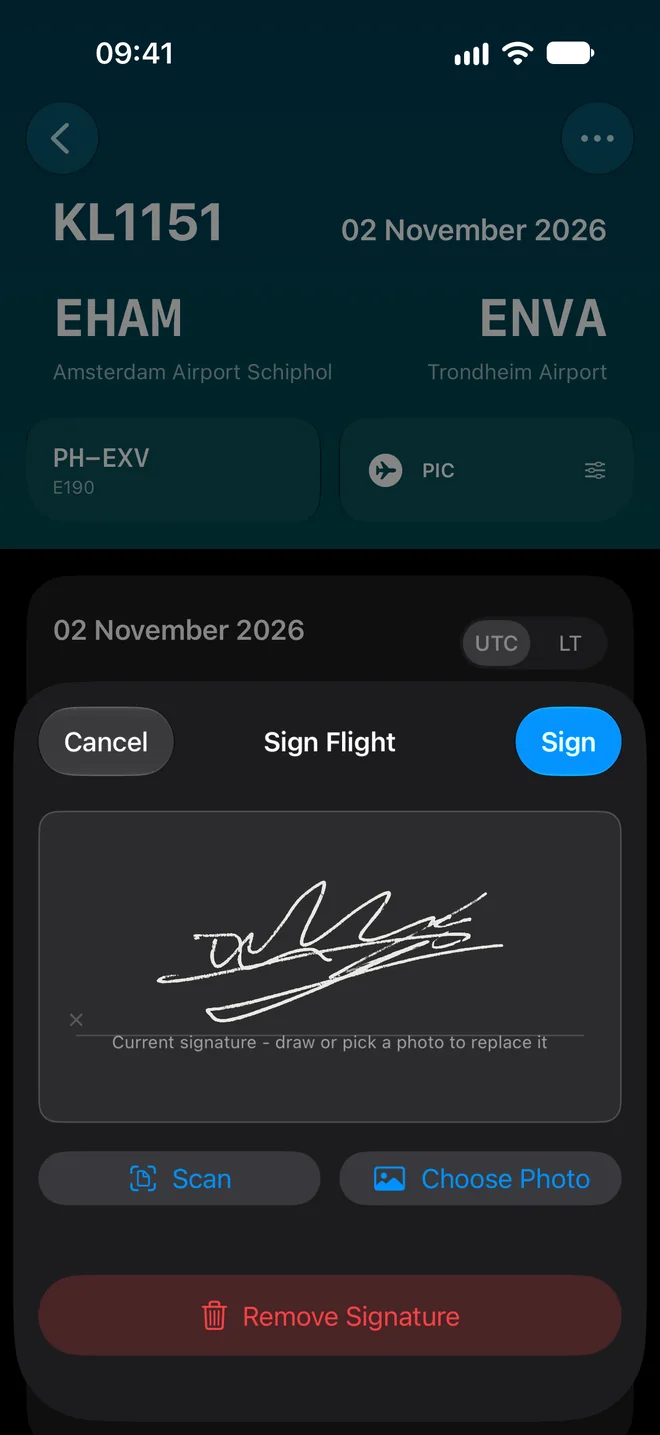
- Tap Sign.
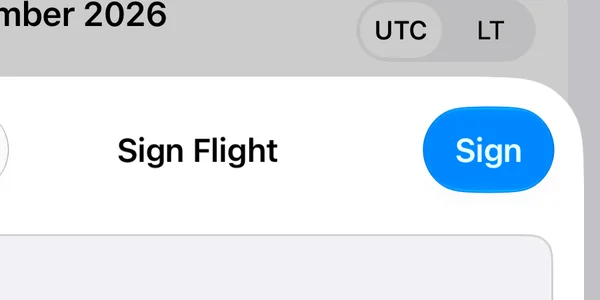
The signature is saved on the flight and uploaded in the background. On your other devices it appears once it has arrived. Until then you see Loading signature…. A simulator session works the same way, in a sheet called Sign Session.
Rows that carry brought-forward hours cannot be signed.
Take a signature from paper #
In the Sign Flight sheet, below the pad:
- Tap Scan to photograph the signature with the camera, or Choose Photo to pick a picture from your photo library.
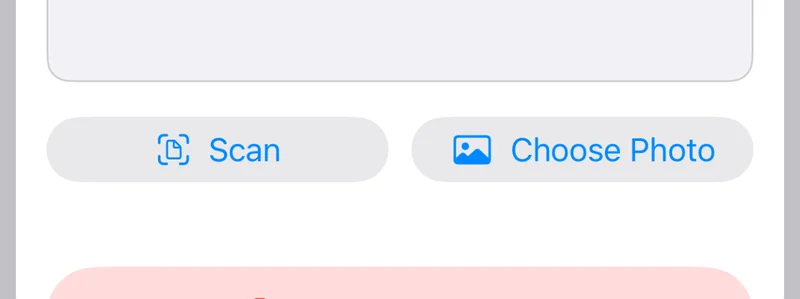
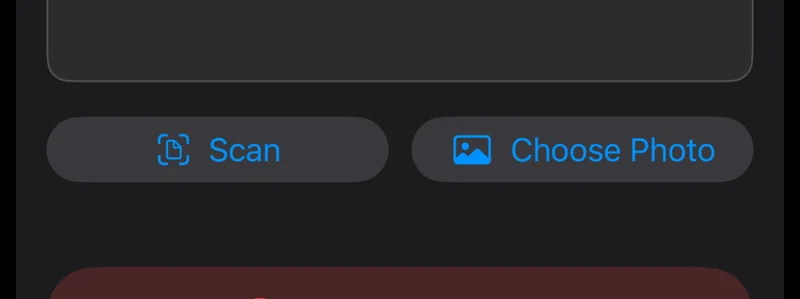
- In Crop to the signature, drag the frame so only the signature is inside it and tap Continue.
- Compare Original and Extracted, and move Sensitivity if ink is missing or the paper shows through.
- Tap Use Signature. The signature is saved on the flight.
See a signature on a flight #
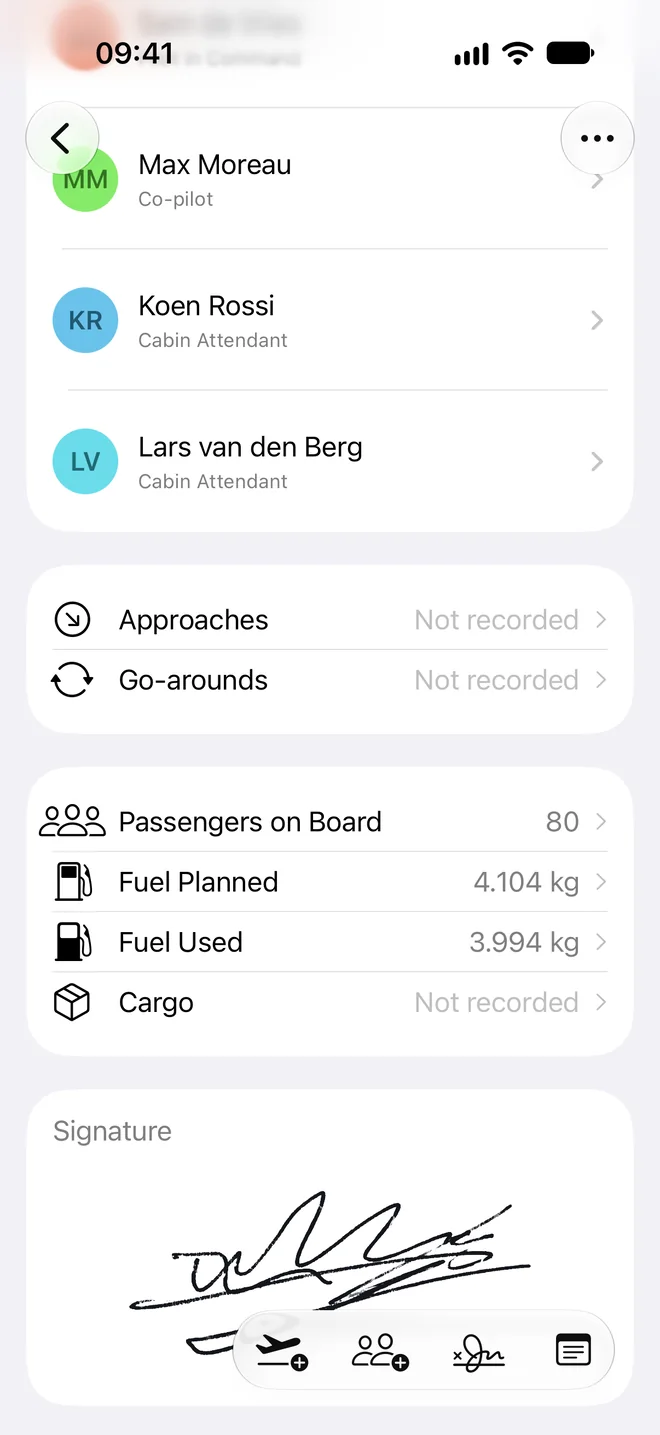
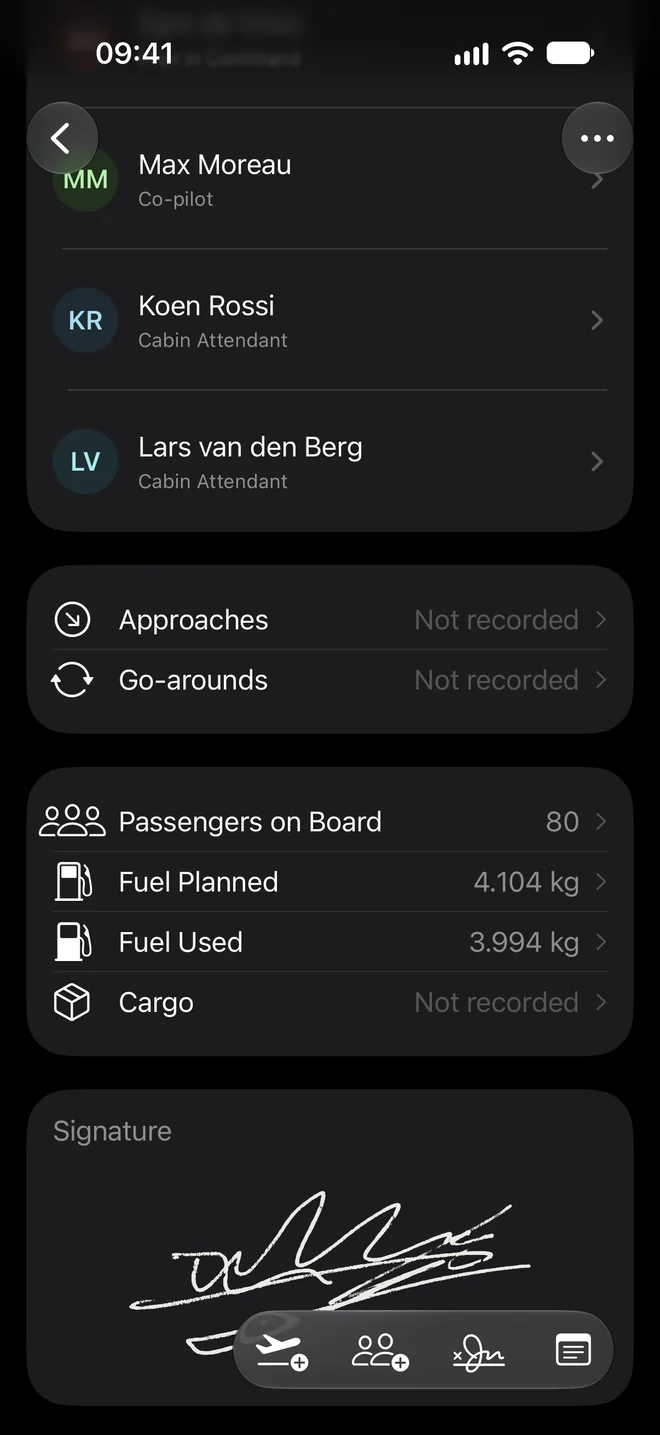
A signed flight has a Signature section in its detail screen with the image. Jetlog does not show who signed or when. Signed flights can still be edited. The signature stays on the flight until you remove or replace it.
Replace or remove a signature #
- Open the signed flight and tap the signature image.
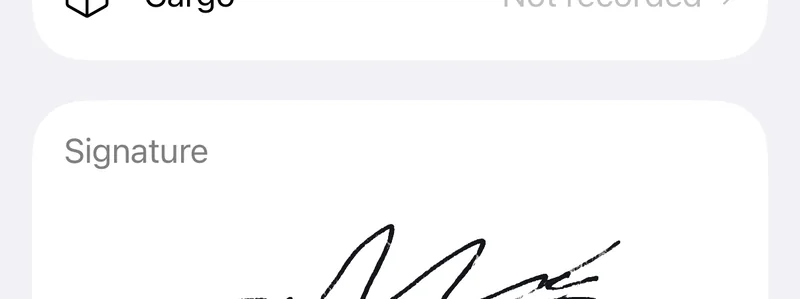
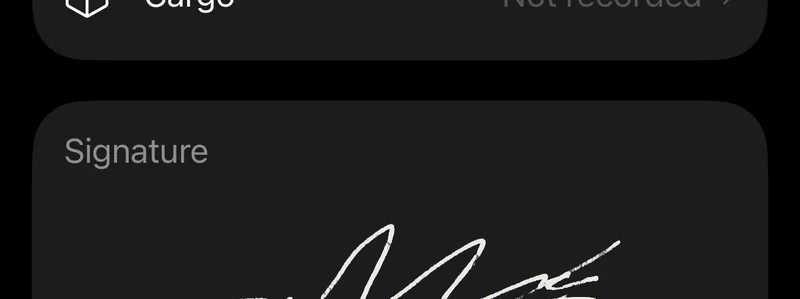
- Choose Replace Signature… to draw or pick a new one, or Remove Signature.
- To remove, confirm in Remove Signature?.
A removed signature cannot be brought back. You can sign the flight again later.
A signing link from someone else never overwrites a signature. If the flight is already signed, Jetlog says Already Signed. Replace it here first.
Sign several flights with one signature #
- In the Logbook, tap the ⋯ button at the top right and choose Select Flights.
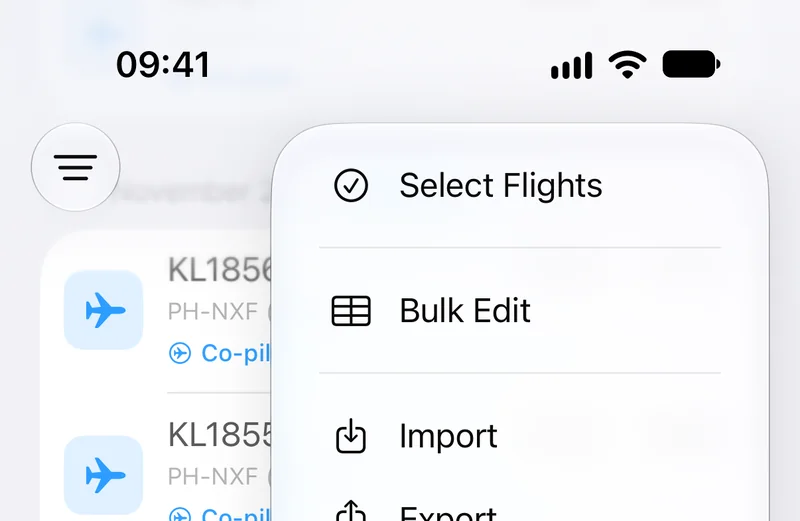
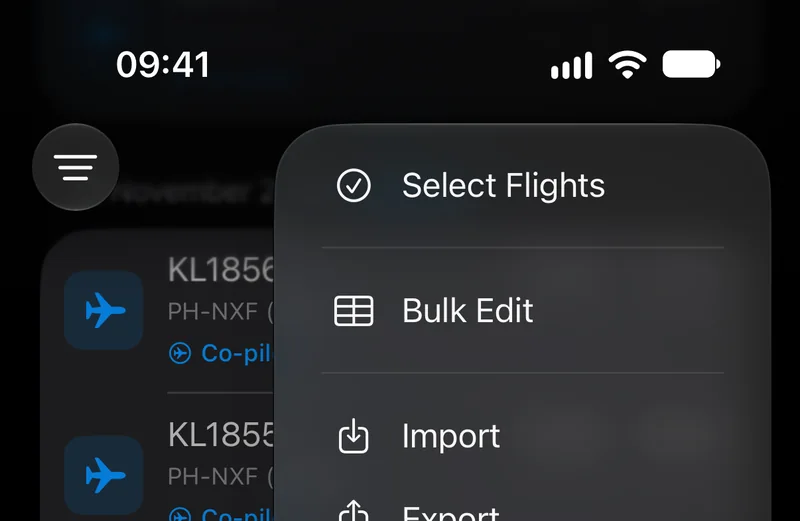
- Tick the flights.
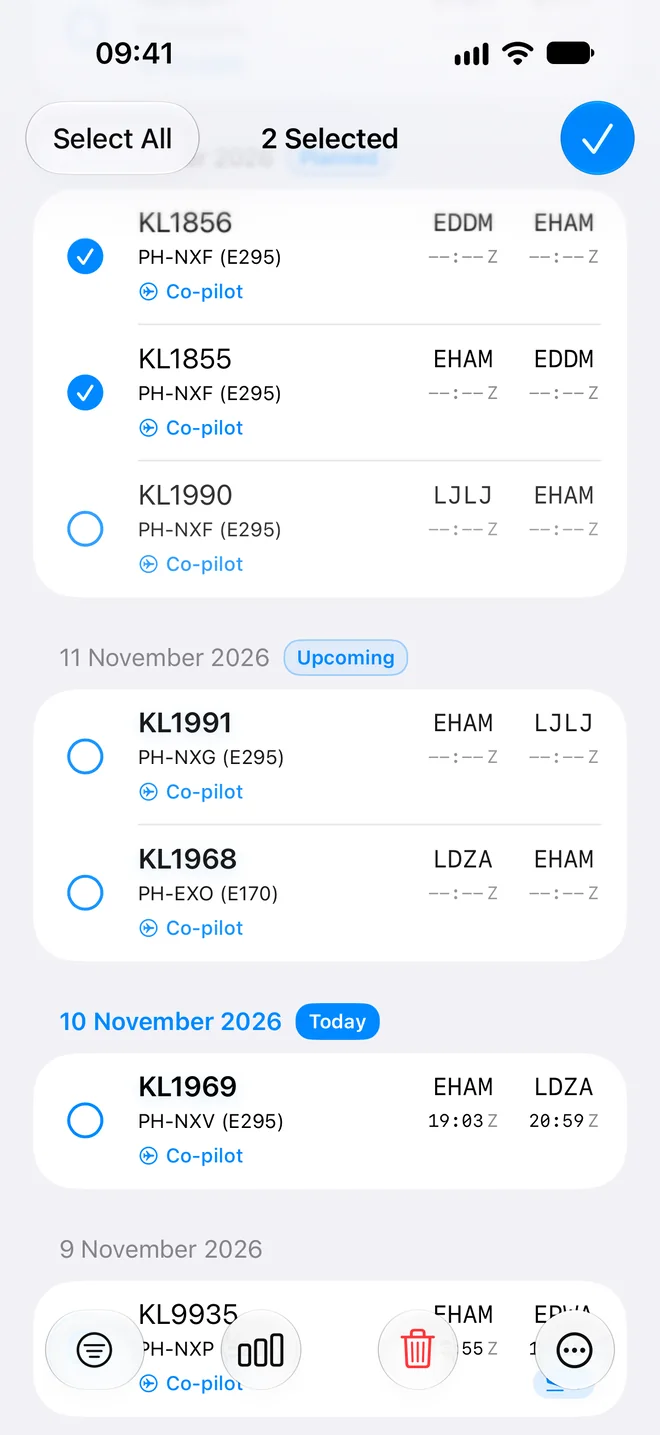
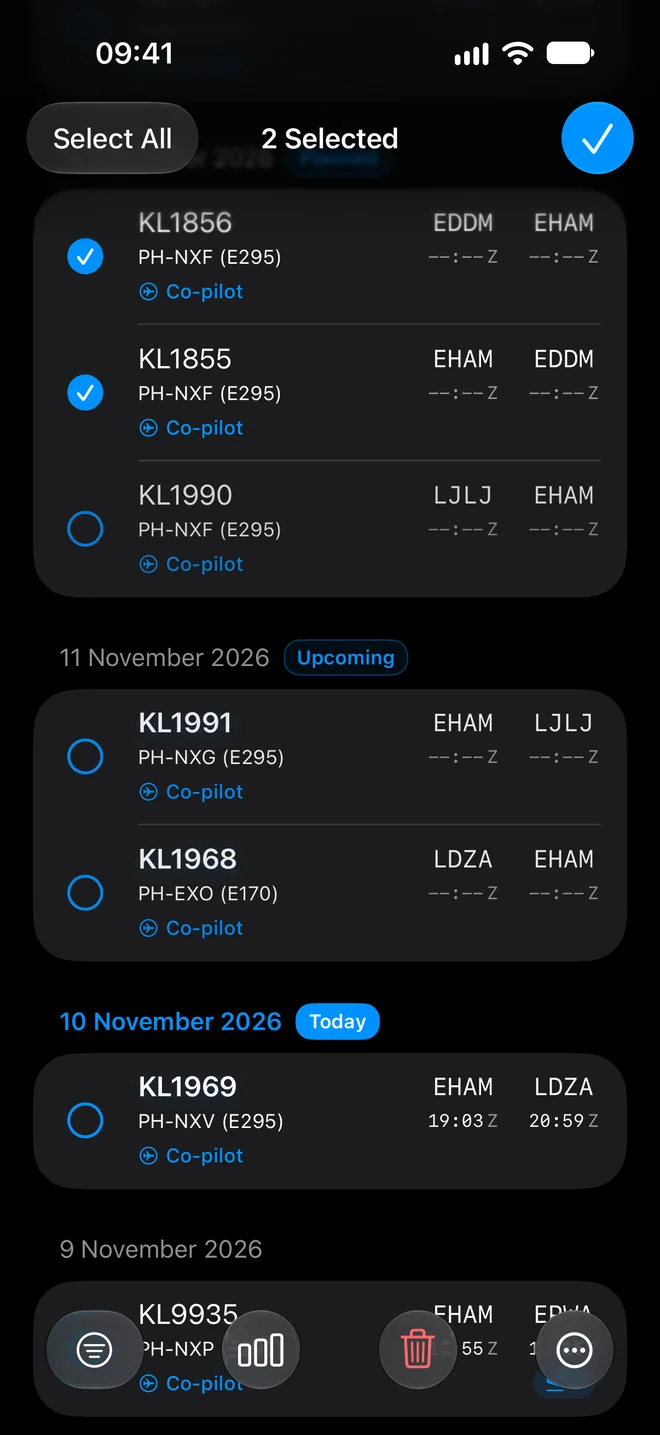
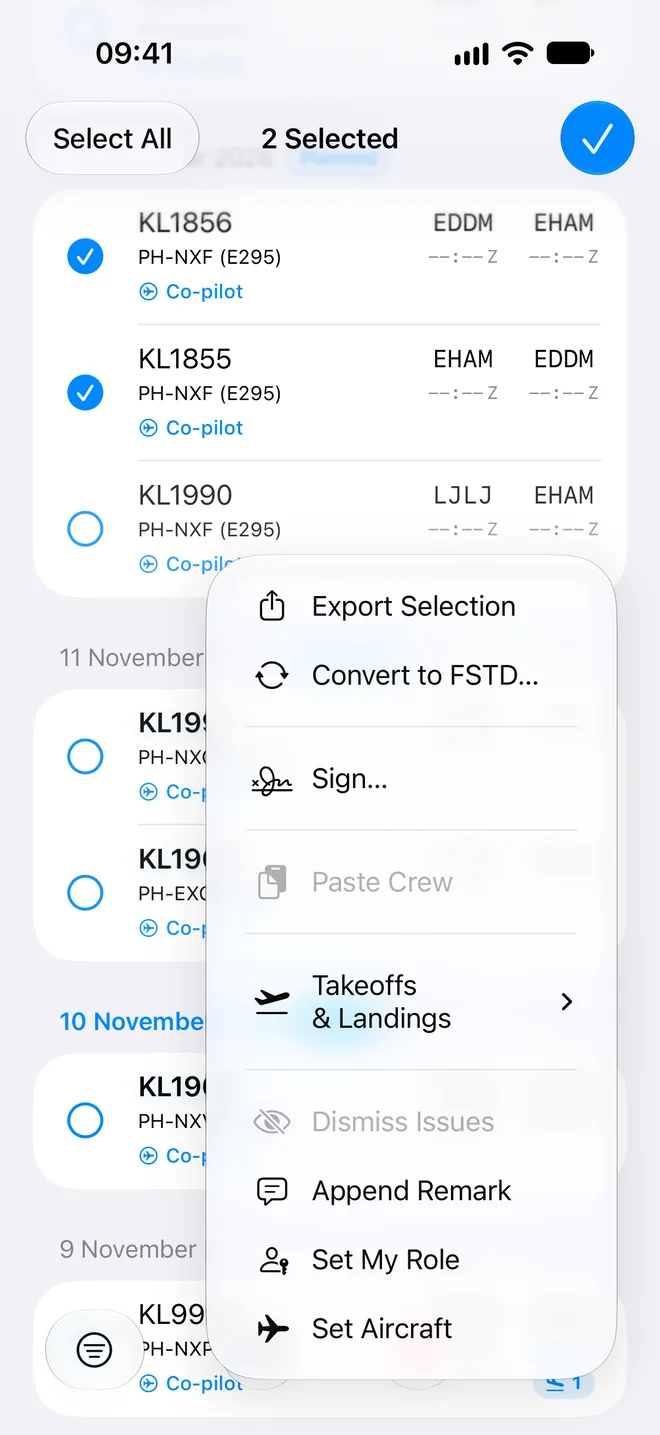
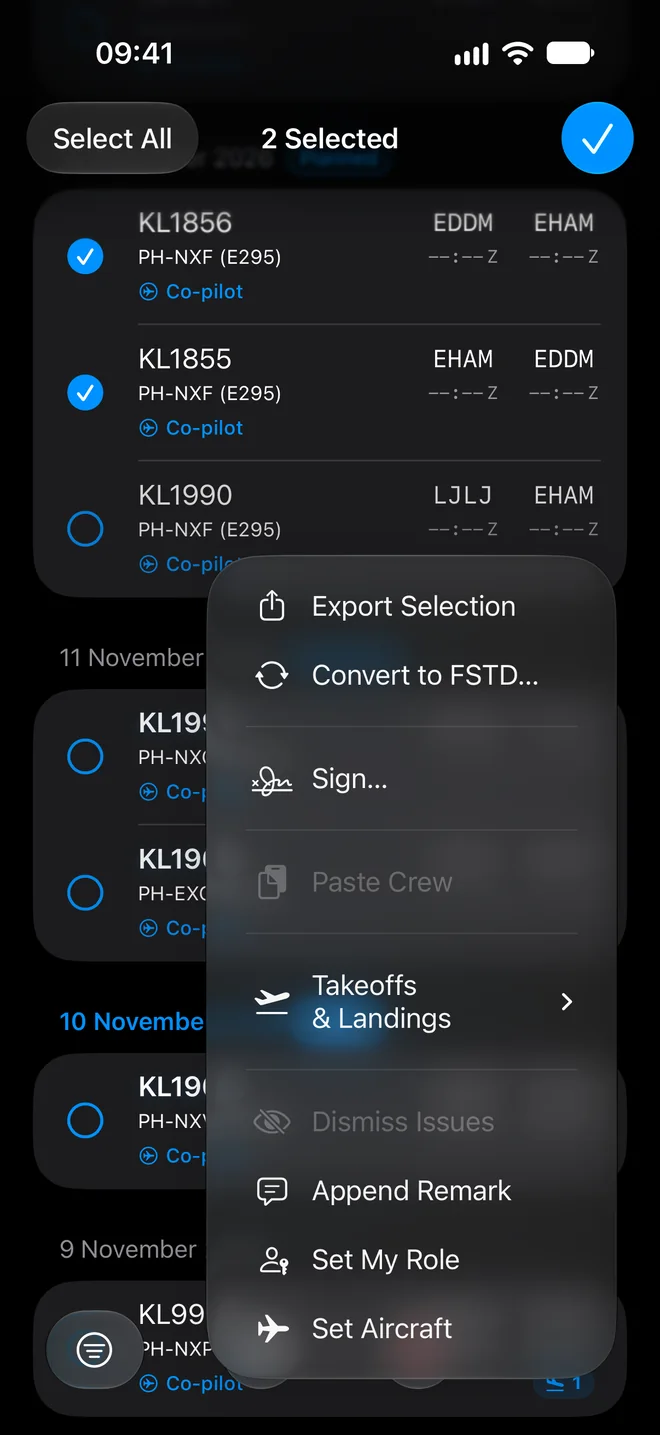
- Open the actions menu in the selection toolbar, and under Signature choose Sign….
- In Sign Entries, draw, Scan or Choose Photo, then tap Sign.
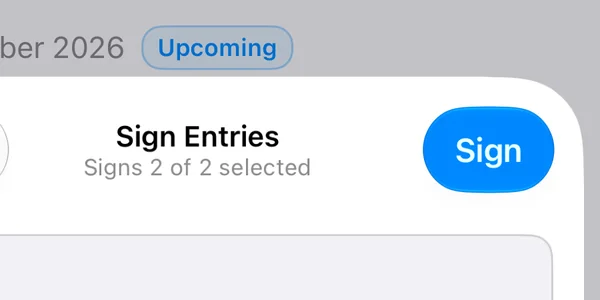
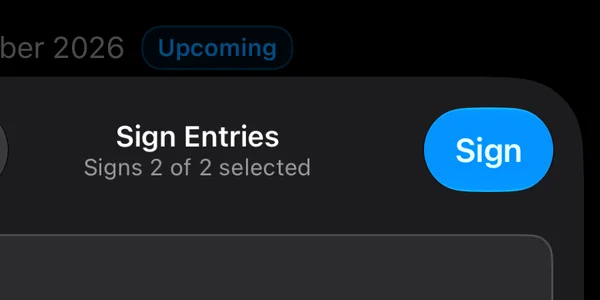
The sheet tells you how many it will sign, for example "Signs 5 of 7 selected, 2 already signed". Flights that already have a signature are left alone, and so are brought-forward rows. If nothing in the selection can be signed you get Nothing to Sign.
Waive a signature #
Waiving records a flight without a countersignature, for your own reference.
- Open the unsigned flight and tap Sign.
- Tap Waive signature….
- Read the text and tap Waive signature.
The flight then shows Signature waived and Not accepted by an authority. Tap Remove waiver to undo it, or collect a real signature, which replaces the waiver. Jetlog counts a waived flight as signed in your totals, but an authority does not accept it. For PICUS time that matters: see PICUS, SPIC and multi-pilot time.
Add your own signature in Settings #
Your own signature is separate from the countersignatures on flights. It is the one printed under "I certify that the entries in this log are true" on each page of the EASA-format PDF.
- Open Settings and tap Signature.
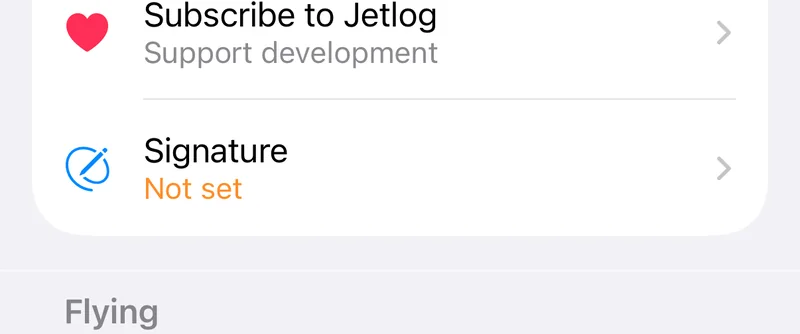
- Draw your signature and tap Save Signature.
Use Edit Signature or Delete Signature from the menu on the same screen. If you open the PDF preview without one, a banner says "Your logbook pages are unsigned." with Sign now. See Exporting your logbook.
Still stuck? Write to support and a pilot answers.