
Importing from CrewLounge PILOTLOG
Bring your PilotLog logbook into Jetlog with the automatic export from CrewLounge, or with a CSV, text or backup file you already have.
On this page
Jetlog reads PilotLog exports as a .csv, a .txt or a backup .zip. You can sign in to CrewLounge from inside Jetlog and let it fetch the export, or pick a file you already have.
Import with the automatic export #
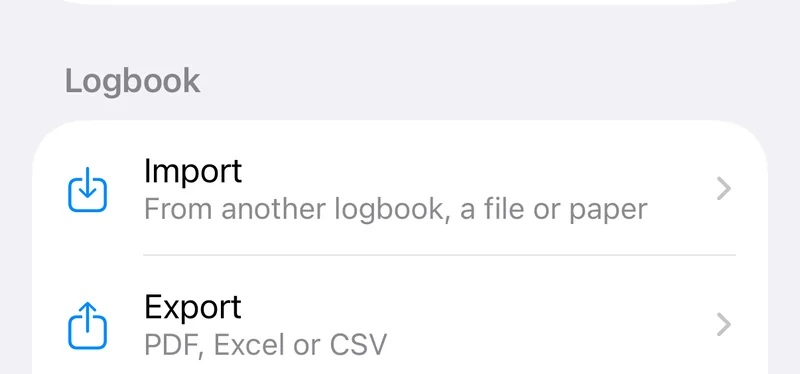
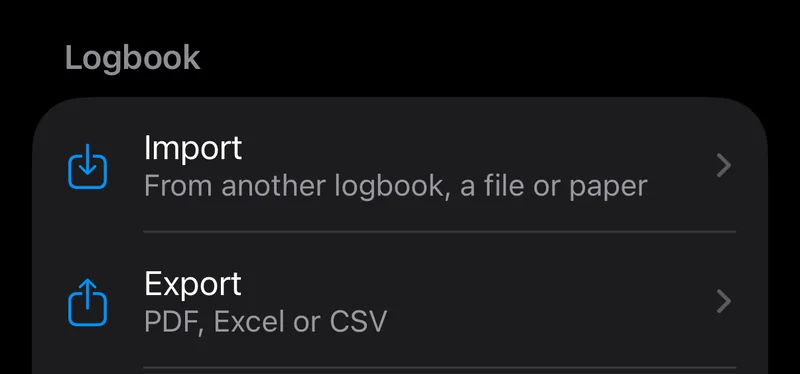
- Open Settings > Logbook > Import.
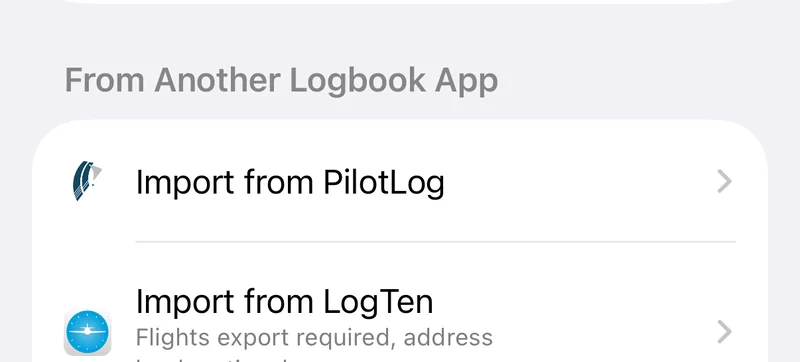
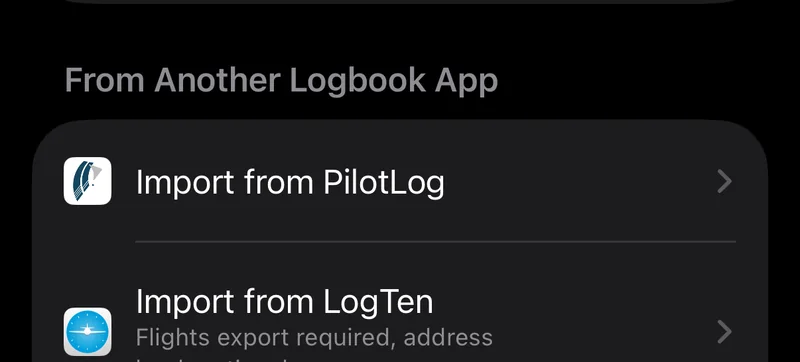
- Tap Import from PilotLog.
- Tap Automatic Export.
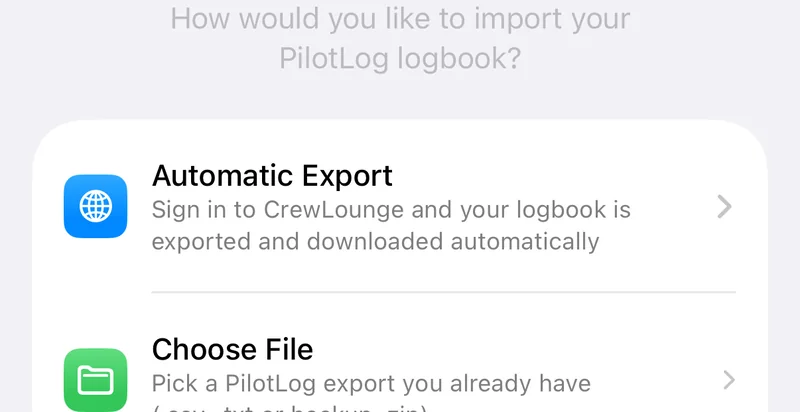
- Sign in to CrewLounge on the PilotLog Export page that opens.
Jetlog starts the CSV export for you and picks up the download. When it finishes you land on the review screen.
Import a file you already have #
- Tap Import from PilotLog, then Choose File.
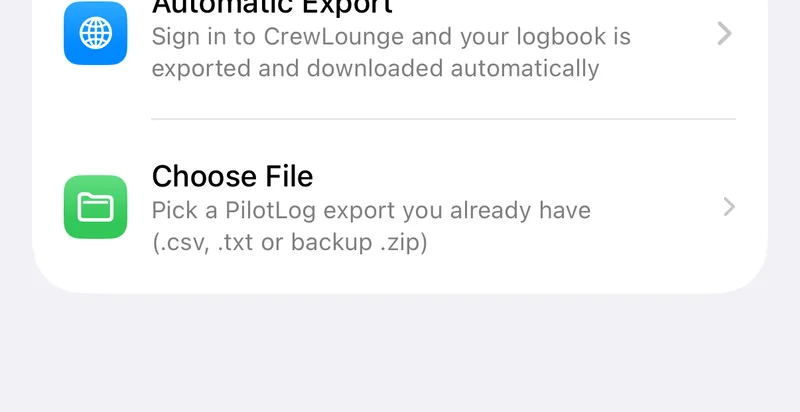
- Pick a PilotLog export: a .csv, a .txt or a backup .zip. For a .zip, Jetlog looks for the CSV inside it.
You can pick one file at a time.
Check the result #
The review screen shows every flight before anything is saved. Where PilotLog does not say which seat you flew, the flight shows a Set role chip. Tap it and choose your role. Rows that match flights already in your logbook are merged by default. Importing from another logbook covers the review screen, duplicates and removing an import.
If the file does not import, tap Send File to Jetlog on the failure screen so we can look at it.
Bring over your PilotLog signatures #
PilotLog's CSV, text and backup exports have no signatures, so the import brings your flights without them. Import your flights first, then add the signatures in one of three ways. Each puts a signature on the flight in Jetlog with the same date, route and departure time, shows you the list before anything changes, and leaves flights that already have a signature alone.
| Where your PilotLog runs | What to use |
|---|---|
| A Mac with Apple silicon (M1 or newer), PilotLog from the App Store | The script on your Mac |
| An Intel Mac, PilotLog from Crew Lounge's own installer | The same script |
| Only iPhone, iPad or the web | The logbook PDF |
On a Mac with Apple silicon #
PilotLog from the App Store keeps your signature images in a folder on the Mac. A small script reads them there and attaches them with the command line tool. It never changes anything in PilotLog.
- Open PilotLog on the Mac once so it has synced your logbook.
- Install Node.js 20 or newer, then the tool with
npm i -g jetlog-cli. - Run
jetlog login --scope write. In the app, switch on Make changes to your logbook before you pick the number. - Download
pilotlog-signatures.mjsfrom the examples folder on GitHub. - In Terminal, in the folder with the script, run
node pilotlog-signatures.mjs --attach --dry-run. It lists every signature and the flight it would go on, and changes nothing. - If the list looks right, run
node pilotlog-signatures.mjs --attach. It asks once more before it attaches.
The first time, macOS asks whether Terminal may use data from other apps. Answer Allow. If you said no before, give Terminal Full Disk Access under System Settings > Privacy & Security.
On an Intel Mac #
PilotLog from Crew Lounge's own installer stores its data inside the app, in /Applications/PILOTLOG.app/Contents/Resources/userdata. The same script reads it there, also on older macOS versions such as Catalina. Follow the steps for a Mac with Apple silicon. The script finds the installer version by itself and says which database it reads. If you keep PilotLog somewhere else, add --data with the folder that holds pilotlog.db.
From the PilotLog logbook PDF #
Without a Mac, Jetlog reads the signatures from the logbook report you print from PilotLog's web app as a PDF.
- In PilotLog's web app, make the logbook report and save it as a PDF.
- In Jetlog, open Settings > Logbook > Import and tap Import from PilotLog.
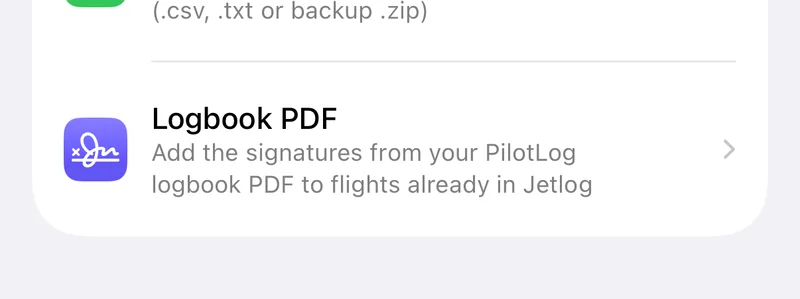
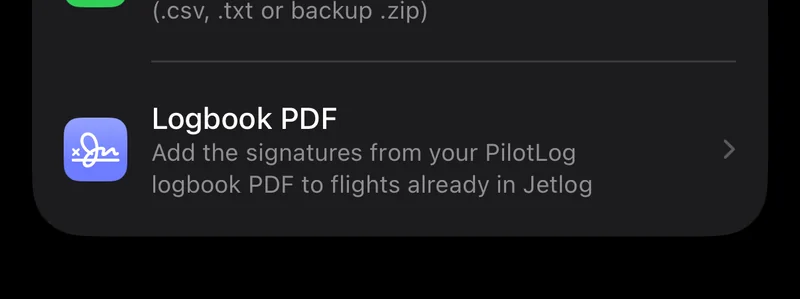
- Tap Logbook PDF and pick the PDF.
- The PilotLog Signatures screen counts the signatures found, the ones to attach, those already signed and those skipped, with a reason for each skipped one.
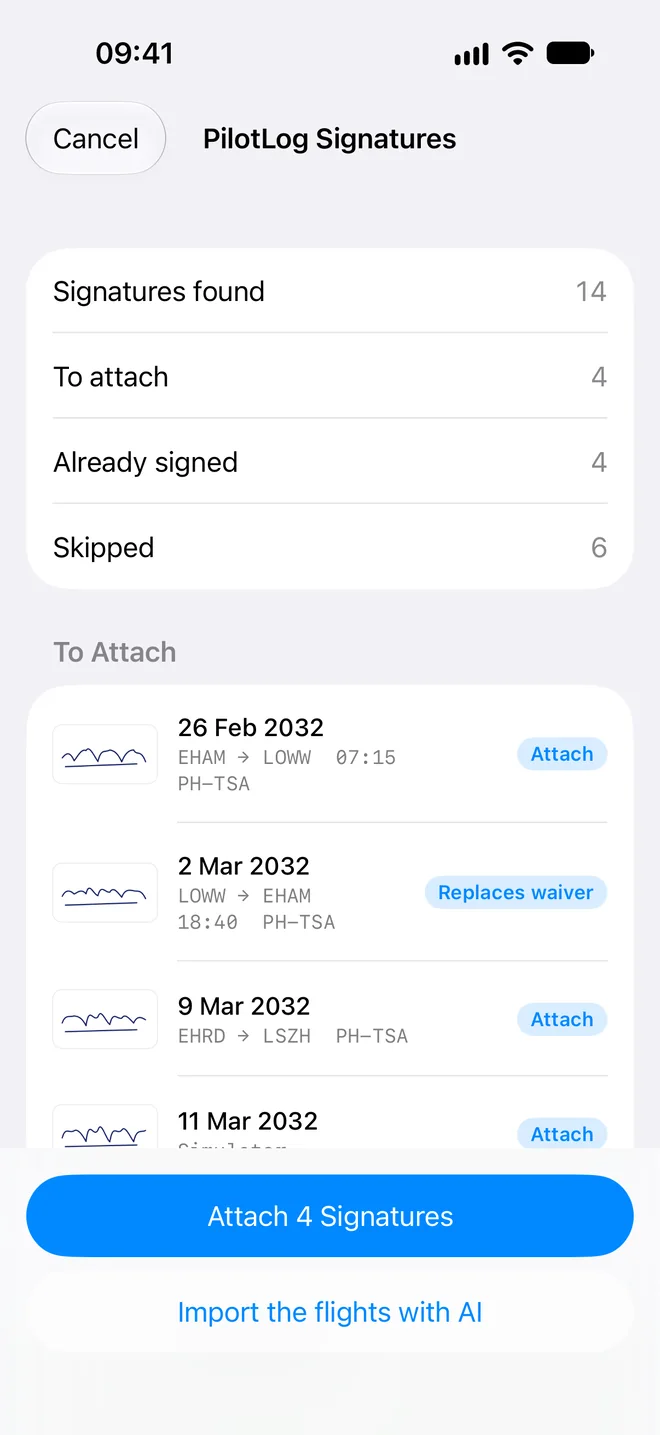
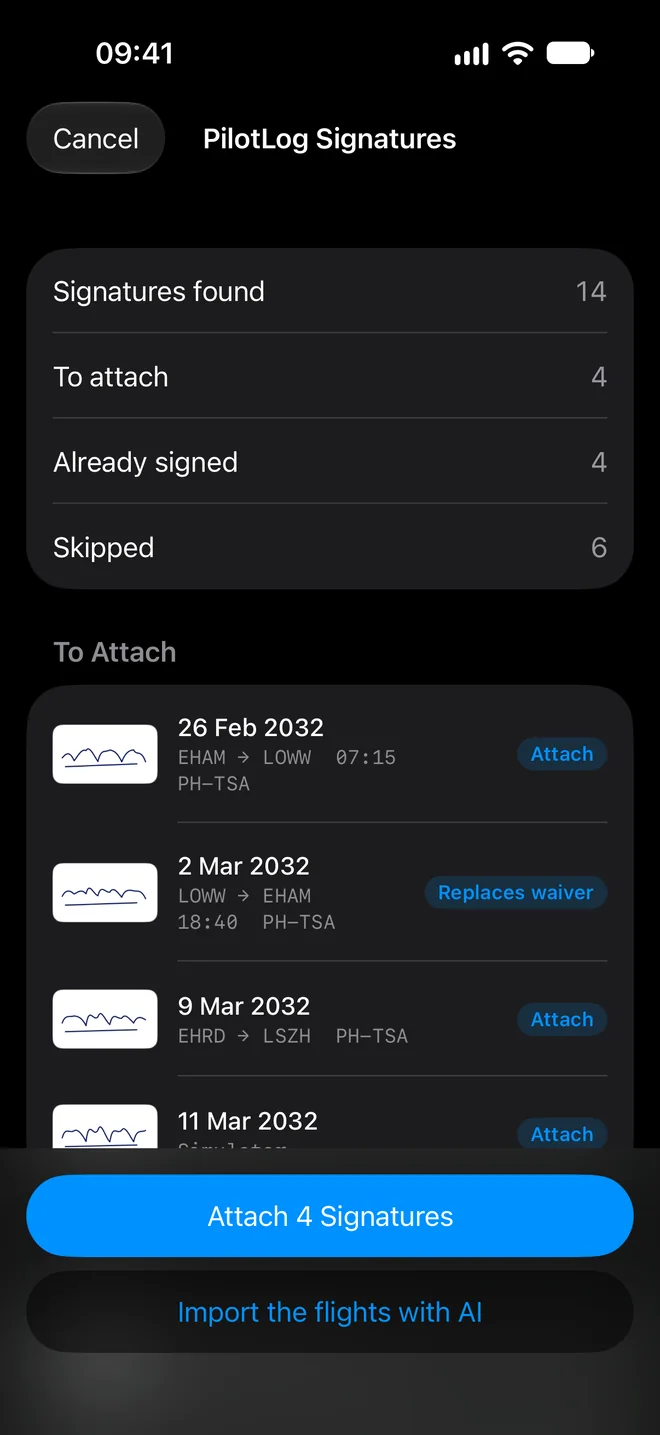
- Check the list and tap Attach, which shows how many signatures go on.
If Jetlog shows The rows do not add up or This PDF could not be checked, the rows it read do not match the totals printed on the pages. Check the list closely before you attach.
A signature without a matching flight is listed as skipped. You can add it by hand on that flight, see Signing your flights.
Still stuck? Write to support and a pilot answers.